
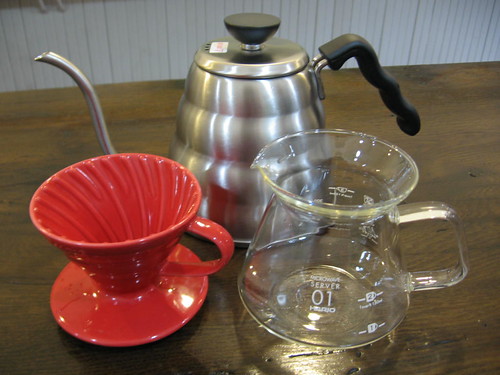
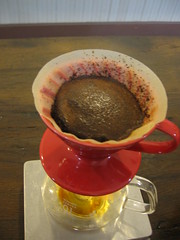
1 cup Range server, 1 cup v60, and Kettle
You will need:
Kettle
v60 1 cup
*1 cup range server
v60 filter (paper or cloth)
A gram/ounce scale
Thermometer (preferably digital)
Coffee and Grinder
Filtered hot water
 The following method is for a 9 ounce cup to approximate traditional US style drip coffees. With a slightly adjusted grind and slower speed of pour, a smaller resulting volume in the same amount of time can be brewed for more intense origin characters.
1. Rinse filters (cloth or paper) before each use with water off the boil. This will remove some unwanted tastes and warm the v60 itself. A rinse also helps hold the paper filters into place.
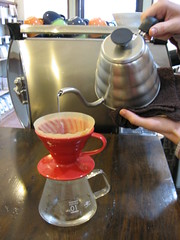
2. Use a cloth underneath the kettle when pouring for balance and to avoid burns. For best results with the Hario Kettle, a slight tilt on it's side can help control the slower pour speeds.
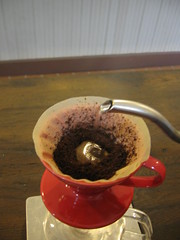
3. After freshly grinding freshly roasted coffee, load 19g (+ or - to taste). Indent a small impression in the center of the grounds. It makes a difference for beginners in v60 to get an even pre-wet. It is extremely important to makes sure all the grounds are fully wet during this stage as dry areas will cause bubbling and channeling later in the brew.
4. Once water is ready off boil, allow it to cool to desired temperature (88C-92C OR 190F to 198F). Darker roasts will need lower temps while lighter roasts need higher temps as general rule.
5. Pour one ounce of water slowly into the center of the ground coffee then continue with deliberate circles outward until all grounds are wet. This should take a total of 10 seconds to completely wet the grounds.
6. Start your timer with a two minute count.
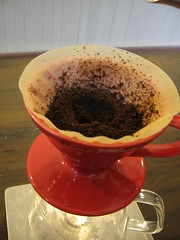
7. Allow the coffee to bloom for twenty seconds (+ OR - 10 seconds) after the last drip of the pre-wet pour. Some roasts will not bloom due to age or roast style, these make for difficult pour overs but can be rewarding with attention.
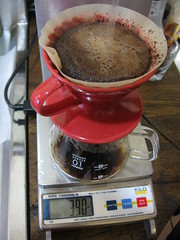
8. Once the timer starts, allow the coffee to bloom and soak. In this example, we allowed it to sit for twenty seconds before pouring. The initial pour after pre-infusion is important because we want the grounds to unfurl evenly into a V shape as we slowly pour into the center. An errant or too fast pour can cause side channeling and it's best to avoid this. Pouring down the sides is also not recommended as this will agitate grounds and cause bitters in the brew. A reminder, this is not a pour and fill method so water that does not pass through the coffee will simply drain off quickly. The floating dome that forms an inch around the outside of the brew has an insular effect and it is not necessary to break this during the pour. In fact, results of washing the edges on the final pour have been very unpleasant.
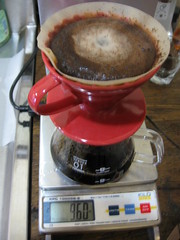
 9. For this method, a steady pour of nine ounces from the twenty second mark until there are thirty seconds left on a two minute count has worked best. If the grind is set correctly, the last few drips will happen at or just after the timer goes off. For a larger v60-02, we would add a minute to the total time and adjustments to grind/dose/pour.
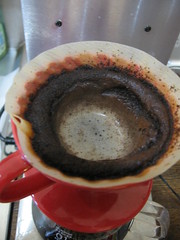
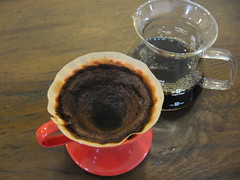
10. The resultant grounds should be evenly distributed and symmetry isn't necessarily a bad thing! Take notes, make adjustments and record the effects of those changes. A method can always be tuned from it's starting point to personal tastes.
Get started on this with the pour over mini pro pack.
For brew guides and other methods visit our education section.